Jak připojit 12V odbočku k alarmu Ajax. Nastavení a provozní scénář
V současné době se k prevenci nechtěného úniků vody v obytných budovách hojně používají autonomní poplašná zařízení. Aby však správně fungovaly, musí být všechny komponenty a mechanismy správně zapojeny a softwarový balíček musí být nakonfigurován.
V tomto článku se podíváme na to, jak může zabezpečovací systém Ajax pracovat s nepřerušitelným zdrojem napájení a elektromechanickým kulovým ventilem, jak tyto jednotky propojit a jak je správně nastavit, aby spolu vzájemně spolupracovaly.
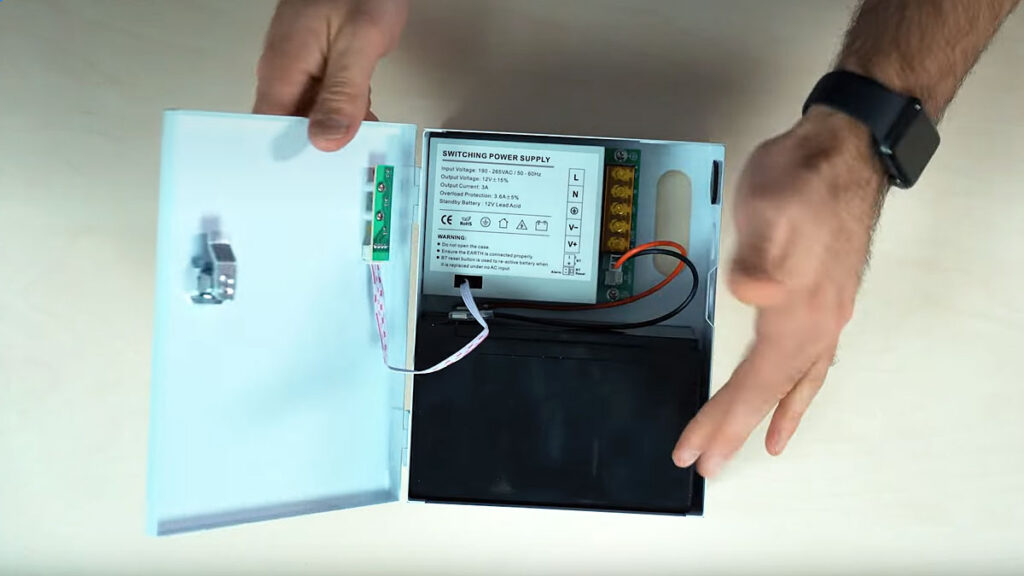
Pro přidání 12voltových kulových ventilů do bezpečnostního systému Ajax se obvykle používá relé pro ovládání průtoku vody. Neméně důležitý je u takového zařízení i nepřerušitelný zdroj napájení, protože samotný poplašný systém funguje na baterie. Hlavní jednotka, rozbočovač, má vestavěnou baterii, která umožňuje provoz systému po dobu přibližně 10 hodin bez připojení k elektrické síti.
Toto zařízení by mělo být instalováno zodpovědně, protože na jeho správné konfiguraci závisí bezpečnost vašeho domova. Elektromechanický kulový kohout je připojen k bezpečnostnímu systému Ajax v několika krocích:
- Připojení zdroje nepřerušovaného napájení.
- Zavedení kohoutku do hlavního potrubí uvnitř domu, které zásobuje vodou všechny části domu.
- Přidání segmentů primárního alarmu Ajax do stávající komunikace.
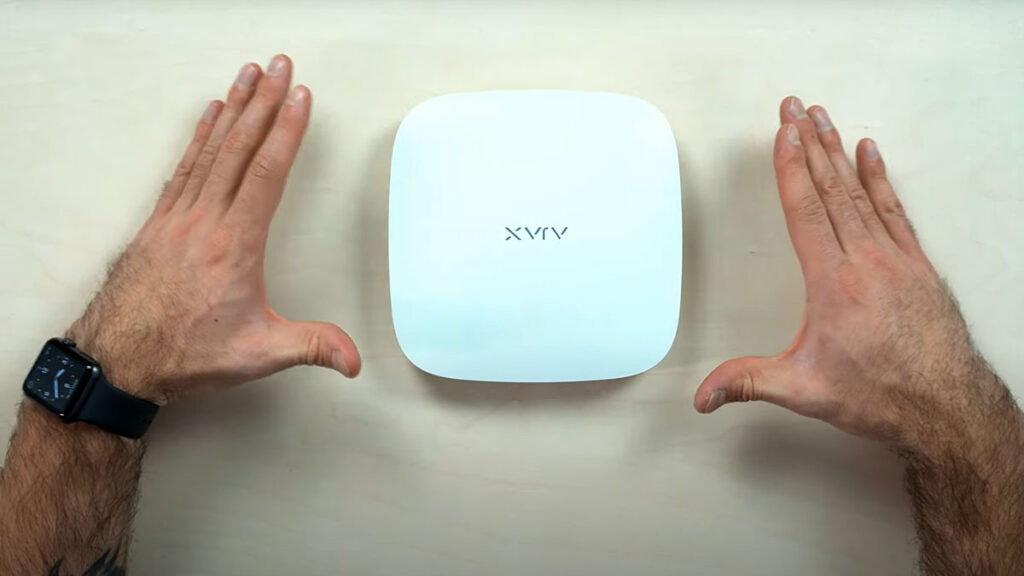
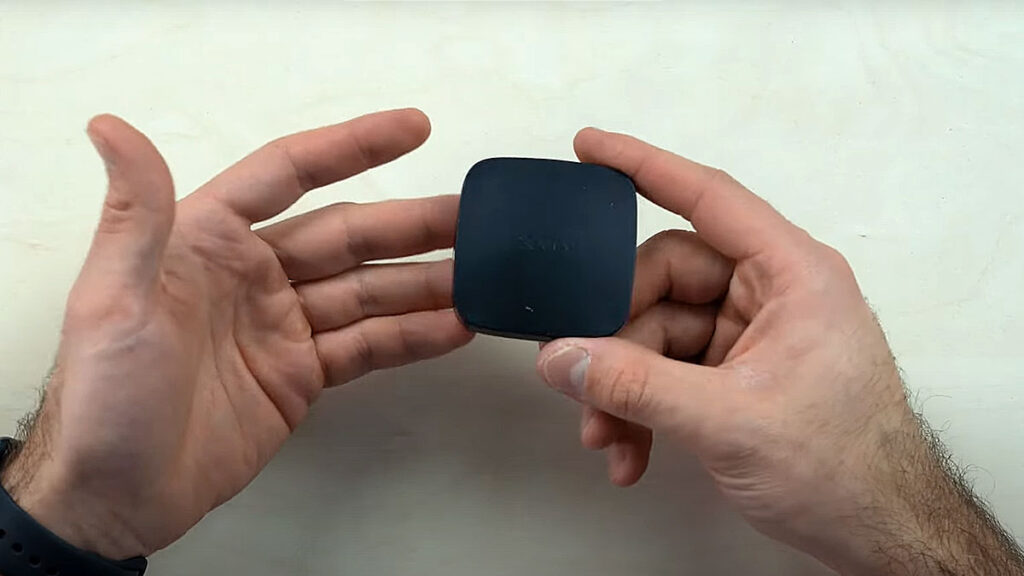
K tomuto připojení budete nejprve potřebovat rozbočovač, nejdůležitější rozbočovač alarmu. Toto zařízení, které pracuje pod kontrolou mobilní aplikace, řídí provoz všech ostatních připojených zařízení.
Díky rozbočovači je ochrana proti úniku automatická, bez zásahu člověka. Kromě toho jsou pro systém nezbytné záplavové senzory. Jejich účelem je reagovat na vodu. K tomuto účelu jsou na těchto zařízeních k dispozici speciální kontakty. Pokud je zasáhne voda, vyšle povodňový senzor odpovídající varovný signál do hlavního koncentrátoru.
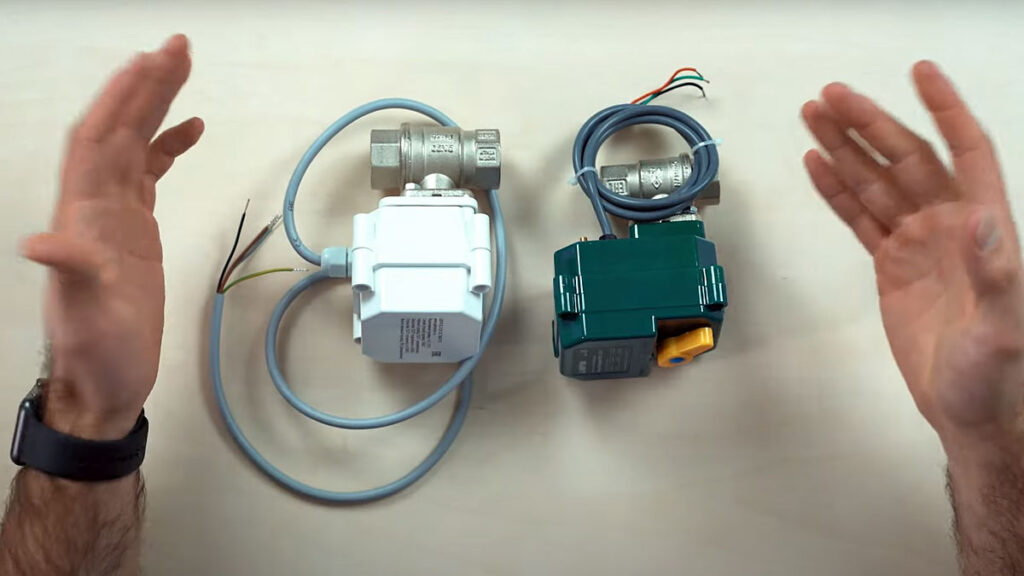
Elektromechanické kulové kohouty jsou hlavním článkem budoucího systému. Ze všech dostupných možností je nejlepší zvolit výrobky Gidrolock nebo Neptun. Pro připojení všech zařízení pracujících v jednom systému ochrany před povodněmi je nutná nepřerušitelná bateriová jednotka. Kromě toho budete potřebovat relé od společnosti Ajax, které bude fungovat jako výkonné zařízení.
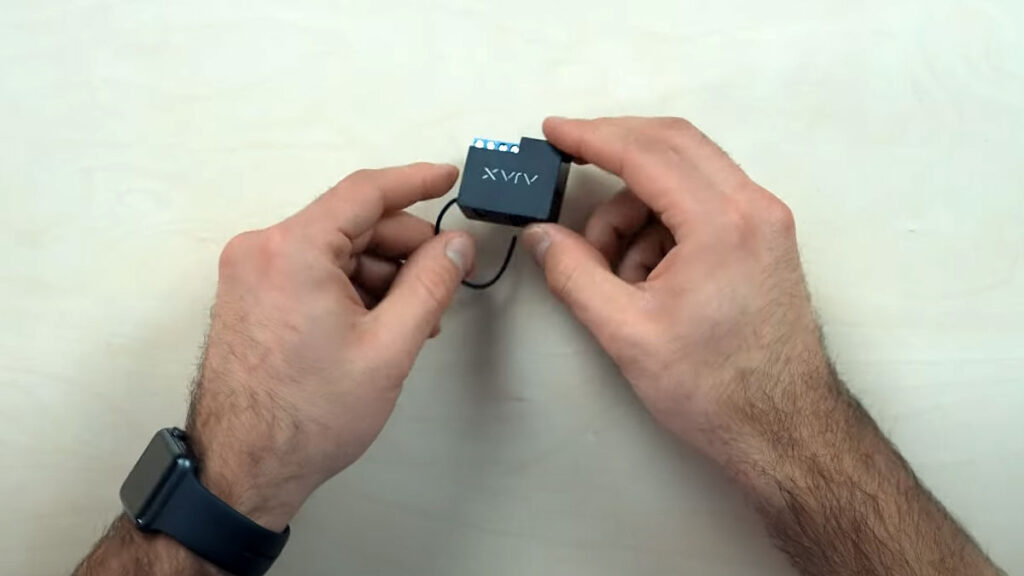
Když záplavový senzor detekuje vodu, vyšle signál do rozbočovače, který jej následně přenese do relé, jež ovládá zavírání nebo otevírání kulového ventilu. Některé kanály mohou vyžadovat také přídavné relé pro ovládání kulového ventilu podle specifického principu.
Příprava systému ochrany proti úniku vody na provoz
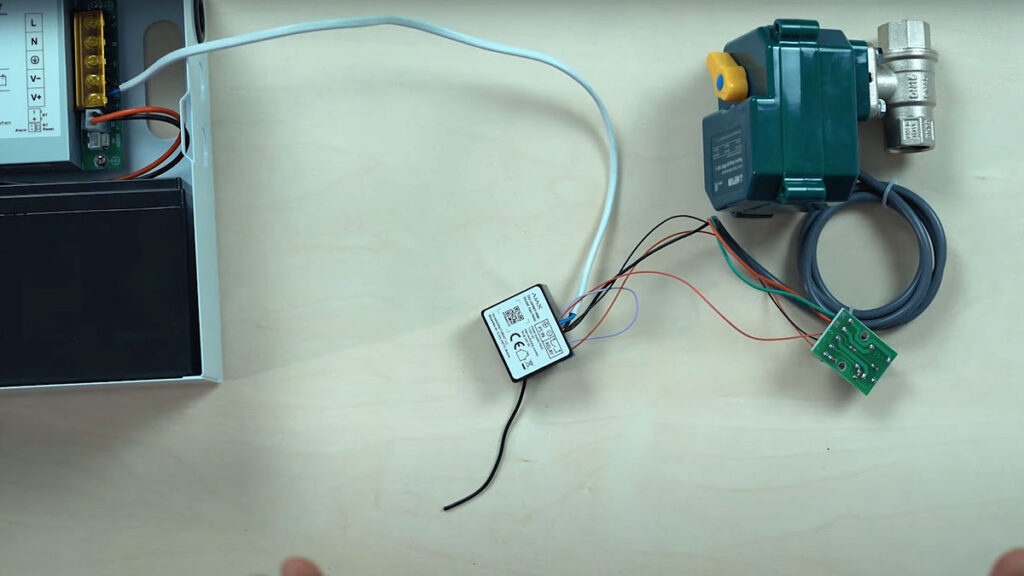
Práce na připojení elektromechanického ventilu musí začít připojením jeho výstupní kabeláže. Hnědý kabel obvykle přivádí "plus" z nepřerušitelného zdroje napájení. Černý kabel slouží k ovládání. Šedý vodič je zemnicí vodič. Když je černý vodič uzemněn, žaluzie se otevře nebo zavře.
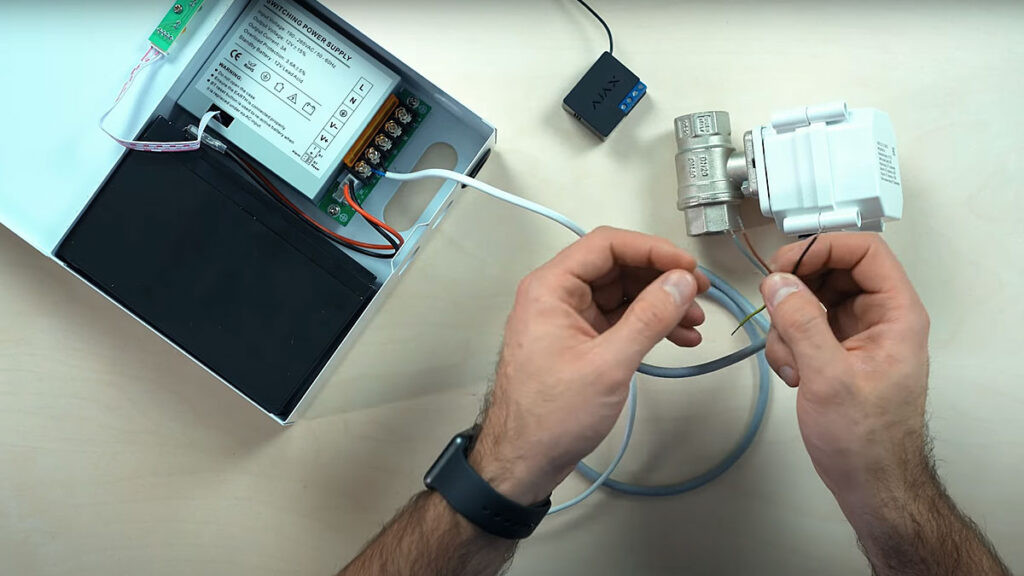
Hlavním faktem je, že elektromechanický kulový ventil má jeden napájecí vodič 12 V a druhý pro uzemnění. Podobně jsou zapojeny i hnědý a šedý vodič.
Chcete-li připojený systém spustit, musíte stisknout tlačítko napájení rozbočovače.
Prostřednictvím aplikace, ve které jste se zaregistrovali, musíte přidat samotný rozbočovač pomocí kódu QR. Po spuštění rozbočovače je třeba připojit napájení a ethernetový kabel. Poté je třeba přidat rozbočovač do aplikace a dát mu libovolný název. Po naskenování kódu QR stiskněte tlačítko "OK".
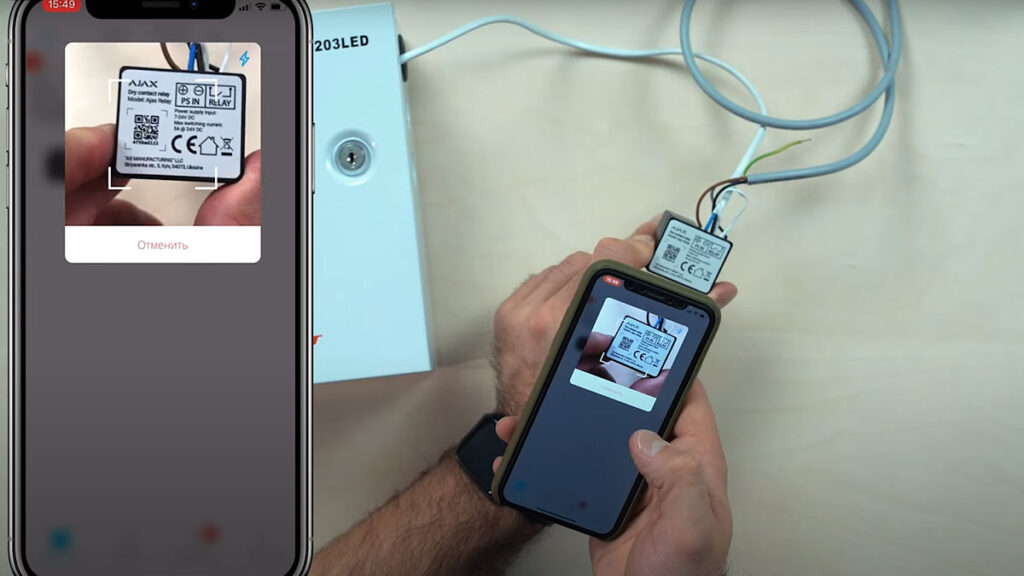
Detektor ochrany před povodněmi se do aplikace alarmu přidává stejným způsobem: naskenujte QR kód, dobře stiskněte zařízení a nechte rozsvítit indikátor. Protože je detektor vodotěsný, je tlačítko u většiny známých modelů integrováno do pouzdra, takže je třeba na něj co nejsilněji zatlačit. Nemusíte se obávat poškození detektoru. Poté už zbývá jen přidat do softwarového balíčku role, které umožňují ovládat vypínání vody. Zde by mělo být vše provedeno stejným způsobem:
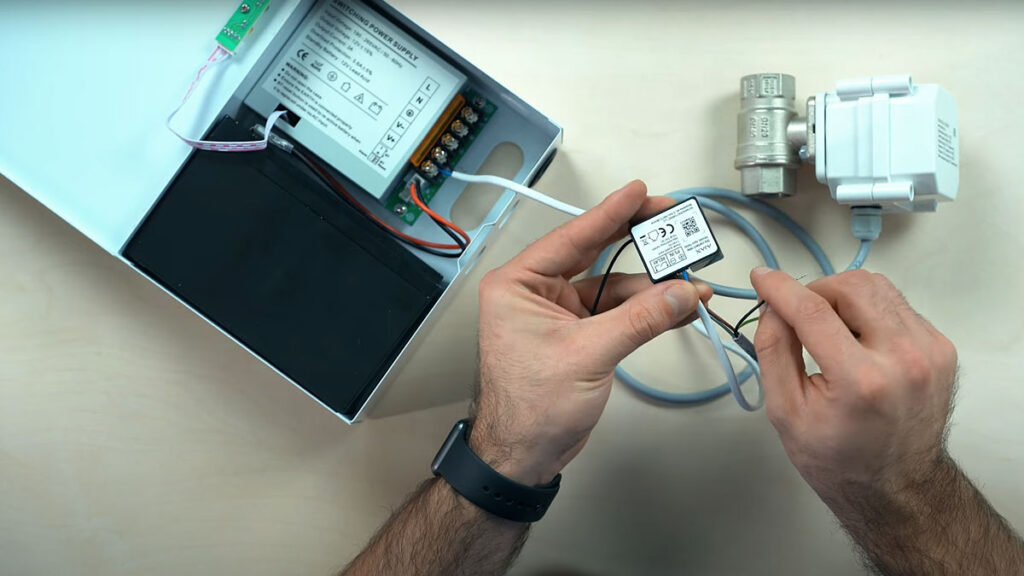
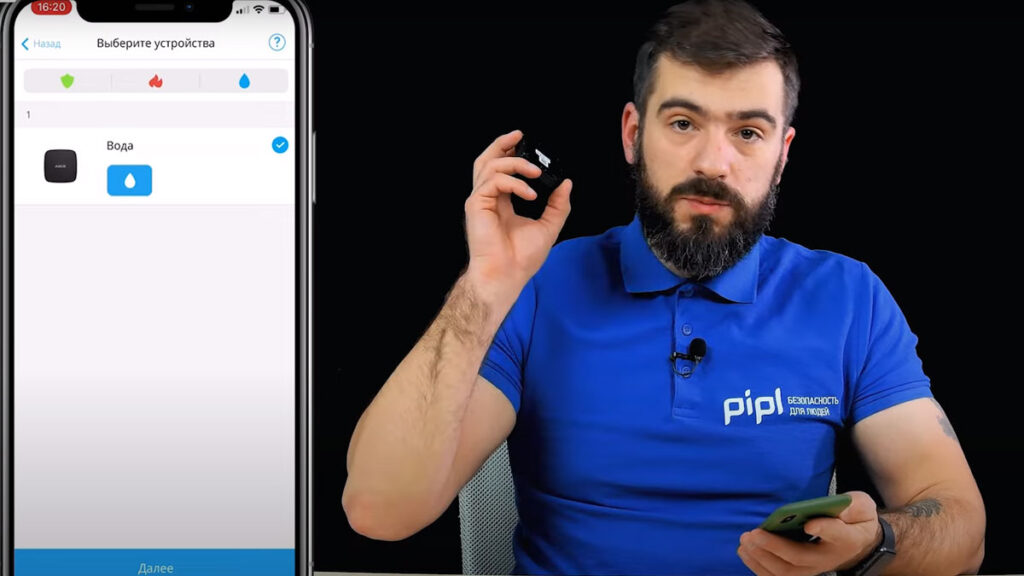
- Stiskněte tlačítko "Přidat jednotku", ale před spuštěním ho připojte k jednotce napájení z UPS a zkontrolujte, zda se rozsvítí kontrolka.
- Naskenujte kód QR.
- Vyberte místnost a stiskněte tlačítko "OK" na samotném zařízení.

Pokud je vše provedeno správně, výsledkem je, že při stisknutí tlačítka "mínus" se zavře mechanismus regulace vody a při stisknutí tlačítka "zpět" se otevře.
Při připojení 220 V pracuje systém Ajax zcela samostatně, stačí pouze nastavit automatické vypnutí přívodu vody, když se na kontaktech čidla objeví voda.
Nastavení senzoru při použití pomocného relé
Zvažte připojení elektromechanického jeřábu pomocí přídavného relé. Je vyžadováno, pokud v připojení nejsou další minusová připojení.
Systém ochrany proti úniku vody zahrnuje kulový ventil připojený přímo z nepřerušitelného zdroje napájení bez možnosti odpojení. "Plus" je však třeba změnit. To znamená, že nejprve přivedeme "plus" na červený vodič, čímž se kohoutek otevře. Když ho potřebujeme zavřít, musíme z červeného vodiče odstranit "plus" a přivést ho k zelenému.
Uživatel má téměř vždy možnost přidat další signál - buď "plus", nebo "mínus" -, ale nemůže jej přepnout, protože to neumožňuje softwarové nastavení hardwaru. K tomuto účelu je potřebné použít relé. Mělo by být signalizováno pomocné zařízení, u něhož bude "plus" na stejných kontaktech, když je přivedeno napájení. Pokud žádné není, zobrazí se "plus" na jiném kontaktu. Tímto způsobem se řídí průtok vody.
Po připojení senzoru a relé přejděte k fázi programování.
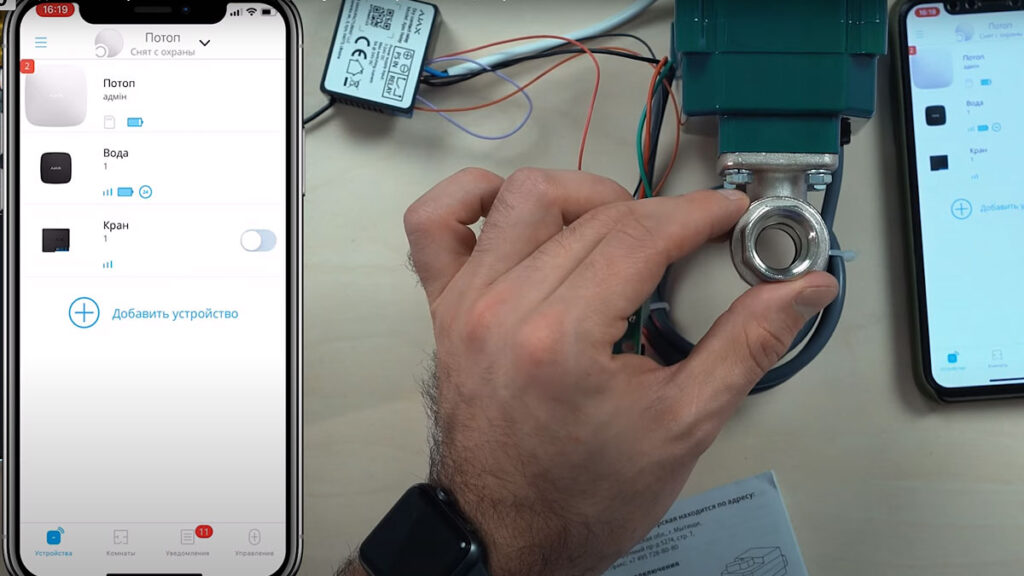
Alarm Ajax obsahuje možnost ovládání nainstalovanou v rozbočovači systému, která je zodpovědná za uzavření vody, když se objeví na kontaktech senzoru. Taková událost signalizuje zaplavení domu nebo bytu.
Chcete-li vyladit příslušný scénář, musíte přejít do nastavení našeho Ajax relay.
Nyní můžeme při změně režimu střežení nastavit spuštění systému podle plánu nebo času. Při nastavení alarmu je potřebné v softwaru označit senzor a změnit polohu relé. Tj. musí se buď zapnout, nebo vypnout. Všechna nastavení je potřeba provést podle typu připojení relé. Poté je třeba ventil vypnout, aby se správně zavřel.
Po dokončení nastavení zkontrolujte, zda ochrana proti zaplavení Ajaxem funguje správně.
Pokud je přívod vody právě otevřen, neměly by senzory reagovat. Jakmile však voda začne dosahovat k samotnému senzoru, měl by rozbočovač obdržet alarm, který při správném nastavení způsobí, že se průtok vody automaticky zcela zastaví
Myšlenka bezpečnostního systému spočívá v tom, že když z otevřeného kohoutku teče voda, snímač to spolehlivě zaznamená. Systém pak na takovou událost reaguje uzavřením přívodu vody. Díky tomu je zajištěna bezpečnost bytu i v době nepřítomnosti jeho obyvatel.