Přehled rozbočovače Ajax Hub Plus
Hub Plus je vylepšený Ajax Smart Hub, který vývojáři vybavili nejširší možnou škálou funkcí. Nový model "plus" se od první generace Hubu liší následujícími vlastnostmi:
- Připojení Wi-Fi k internetu. Předchozí centrální jednotka fungovala pouze prostřednictvím ethernetového kabelu, což znamenalo, že musela být připojena k routeru. V současné verzi zůstává zachován i port RJ-45. To umožnilo používat kabelové připojení přes jednoho poskytovatele a připojení Wi-Fi přes jiného, což zajistilo ještě větší spolehlivost přenosu informací z místa;
- 2 SIM karty místo jedné, což umožňuje komunikovat prostřednictvím dvou mobilních operátorů najednou. Pokud dojde ke ztrátě internetu a jednoho ze signálů GSM současně, rozbočovač si vymění data s telefonem uživatele prostřednictvím třetího záložního kanálu. Doba přepínání mezi kartami SIM je 4 minuty;
- 3G internet (WCDMA). Dříve rozbočovač podporoval pouze připojení 2G, které je stokrát pomalejší. Stará technologie zvládala upozornění na poplach, ale ne přenos videa. Pokud dojde ke ztrátě aktuálního režimu připojení, nový rozbočovač okamžitě přepne mezi 2G a 3G.
- Více zařízení - 150 místo 100;
- Více fotoaparátů - 50 místo 10;
- Více kamer - 25 místo 9.
Maximální počet místností a uživatelů se nezměnil - Hub Plus jich má stejně jako v první verzi 50. Zachována je také funkce přímého připojení k dálkovému ovládání zabezpečovací společnosti prostřednictvím protokolu Contact ID. Výdrž baterie u obou modelů je až 15 hodin.
Připojení a nastavení
Chcete-li zaregistrovat Ajax Hub Plus v systému, postupujte následovně:
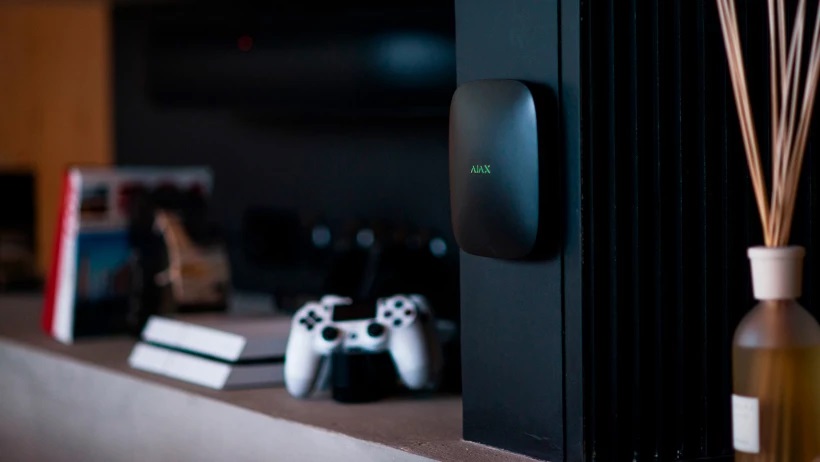
- fyzicky jej připojte k síti a routeru (nebo vložte SIM kartu s mobilním internetem) a počkejte, až se logo rozsvítí zeleně;
- přihlaste se do aplikace Ajax Security System;
- v nabídce vyberte možnost "Přidat rozbočovač" a nastavte název;
- přejděte do pole "ID zařízení" a naskenujte QR kód na zadní straně zařízení tak, že na něj namíříte hlavní fotoaparát smartphonu;
- zadejte nastavení a vyberte požadované parametry (ze softwaru v telefonu).
V nastavení můžete nastavit komunikaci Wi-Fi, vybrat primární a sekundární datový kanál a provést další předvolby pro pozdější provoz. Před registrací zbytku poplašného systému musí být vytvořena alespoň jedna logická místnost
Senzory, relé, sirény a vysílače se k rozbočovači a aplikaci připojují prostřednictvím podnabídky "Přidat zařízení", zatímco zařízení pro záznam videa se připojují prostřednictvím "Přidat kameru". U bezdrátových senzorů Ajax se to provádí načtením kódů QR z pouzdra nebo krabičky
Po částečném nebo úplném zastřežení začne systém reagovat na narušení a nouzové situace (záplavy, kouř, oxid uhelnatý, požár) odesláním zvukových signálů, vyskakovacích oznámení push, SMS nebo volání na telefon uživatele.
Chcete-li svůj majetek ještě více zabezpečit, můžete uzavřít smlouvu s bezpečnostní agenturou. V takovém případě se poplachy duplicitně přenášejí na centrální monitorovací stanici a v případě nebezpečí se k objektu do několika minut po spuštění poplachu dostaví záchranný tým.